Autocomplete html banner
Automatic preparation of html5 banners according to the technical requirements of sites


Automatic preparation of html5 banners according to the technical requirements of sites
The service allows you to automatically prepare zip archives with HTML5 banners created in Adobe Animate and Google Web Designer according to the technical requirements of popular advertising platforms. The system applies settings to banners created with the default settings (“default”), which means they do not have any specific technical requirements incorporated. Below you will find a brief instruction and explanations on how to prepare a banner in Adobe Animate and Google Web Design to automatically apply technical requirements.
The storage period for advertising materials after processing is 15 minutes.
By uploading banners to the page, you agree that they will be stored and processed on the service side.

Select the platform for which you want to adapt your HTML banners to meet the technical requirements.

Before processing the ZIP archives, make sure that all the banners required for automatic population are in the list, and you can also remove any unnecessary ones if needed.

If necessary, set the flags indicating whether your banner is a stretch banner in width or height by clicking on the respective icons

Launch automatic firmware update for HTML banners.

Download the prepared archives to your computer

Make sure to double-check the result on the main page of bannersbox.ru. Ensure that the automatic firmware of the HTML banner has worked correctly

Create an HTML file in Adobe Animate with the desired dimensions for you

In the "Properties" tab, click the "Publish Settings" button

In the opened window, in the "Basic" tab, apply the following settings: disable "Export document as texture", click on the "folder" icons (to make them appear disabled), make sure the "Combine images in spritesheet" option is enabled

In the "HTML/JS" tab, use the following settings: click the "Use Default" button and make sure that after the phrase "Template for publishing HTML:" it says "Default Template"

Confirm the settings of your HTML banner. In the future, all copies of your banner with these settings will be ready for automatic compliance with the technical requirements of platforms

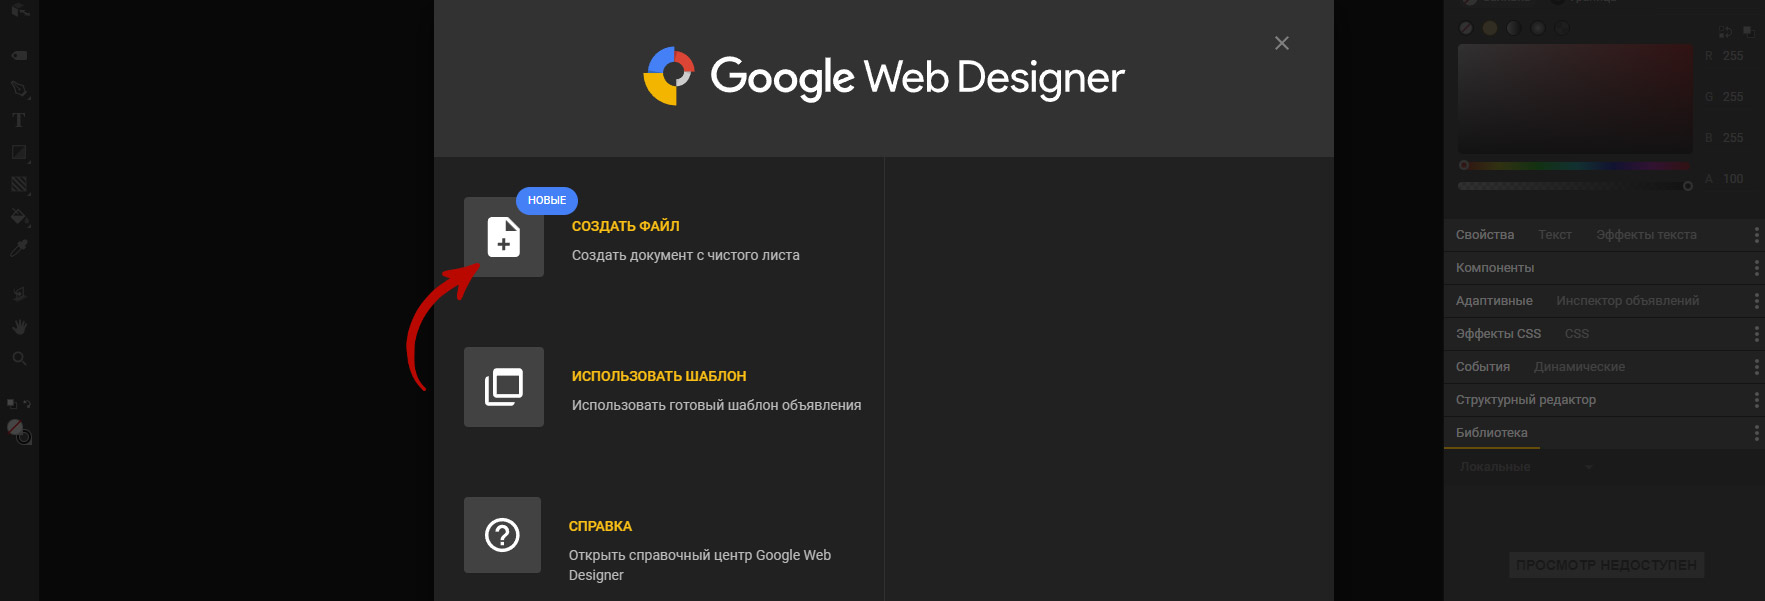
Click on the 'Create File' button

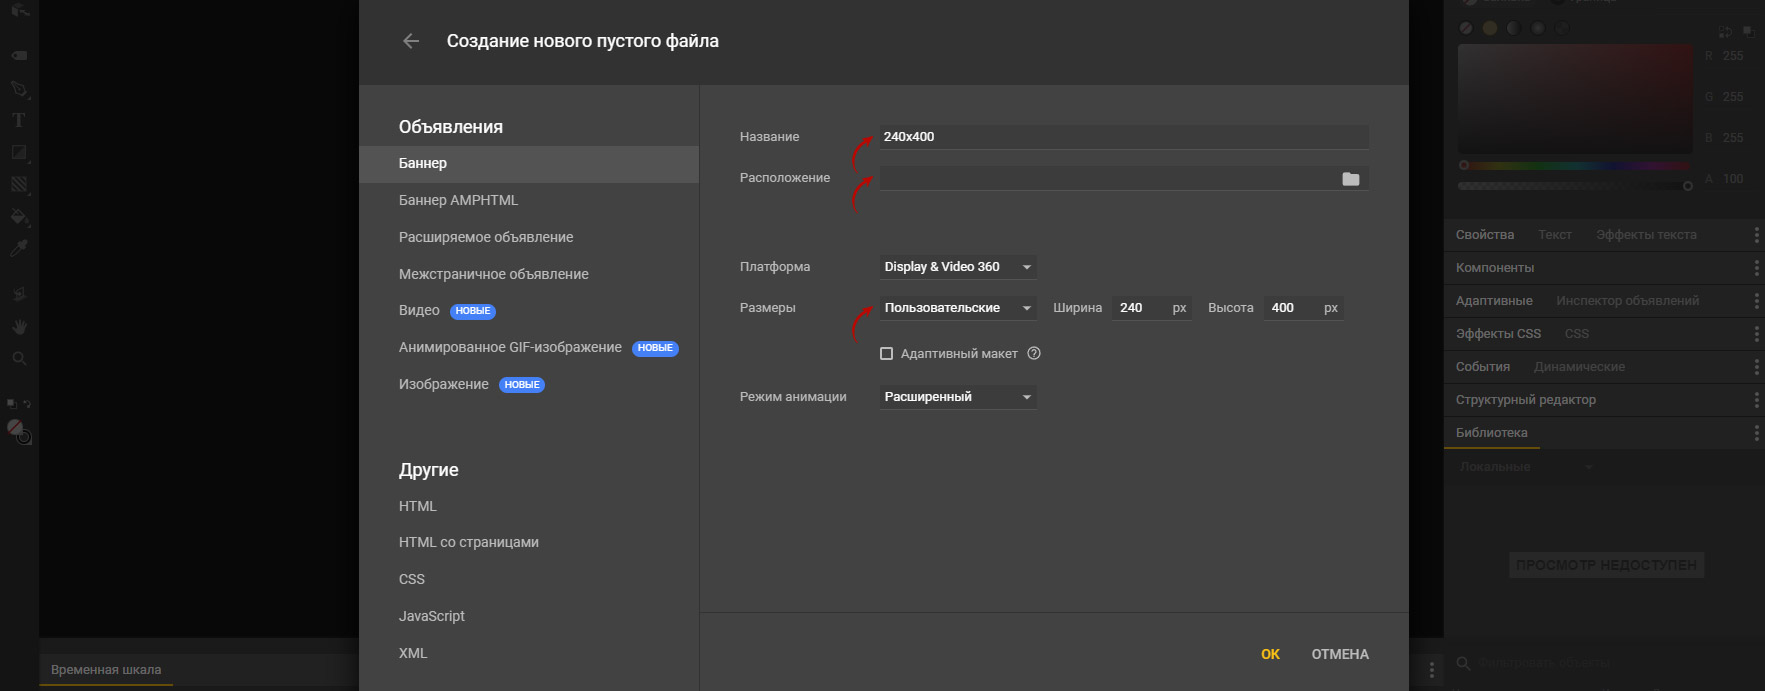
In the opened window, specify the filename and its location. For stable operation of the autofill feature, select the 'Custom' option in the 'Dimensions' field, and enter the banner's width and height in the 'Width' and 'Height' fields

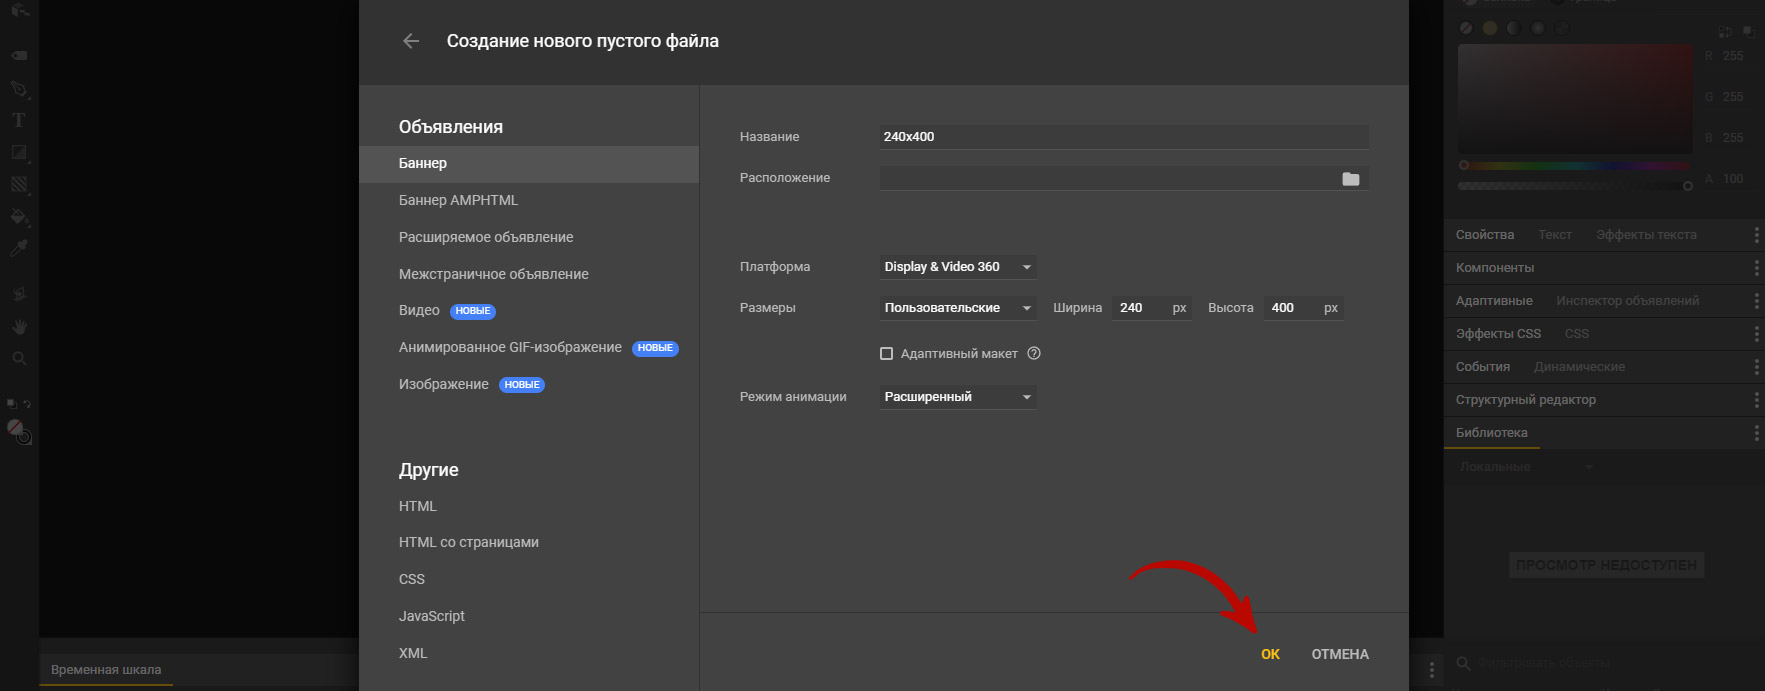
Confirm the banner settings and proceed to animation. Now, with these settings, HTML banners will be ready for automatic adaptation on the bannersbox service

All updates can be found
on the "Update History" page
The list of sites has been saved.
Load banners